19 Best Practices for Shooting Video from Home
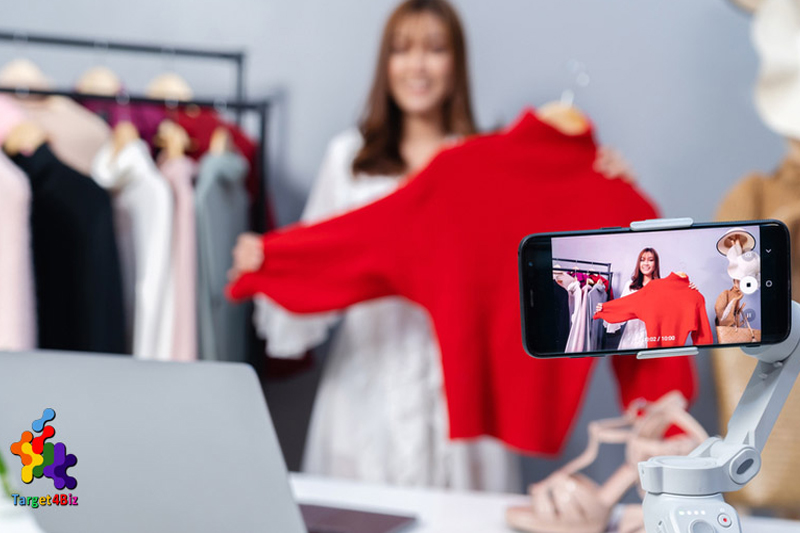

Once you’ve got your equipment list in order, you’re all set to start creating video content at home. Here are our top tips for transforming your home into a professional-level studio:
Part #1: Camera Tips
As most of us don’t have a professional video camera collecting dust in our closets, using a camera phone, laptop, or webcam is the next best option.
That being said, you can still get great results. Here’s how:
Set up your camera on a tripod or steady surface
Position the camera at eye level if possible
Leave enough space around the subject so the video can easily be cropped for different platforms (i.e a 16:9 video for YouTube can be cropped into a 9:16 video for IGTV or Reels)
Leave some distance between the subject and the backdrop. This helps add depth to the shot.
Check your phone/camera/laptop settings to make sure you are shooting at the highest possible resolution.
Part #2: Lighting Tips
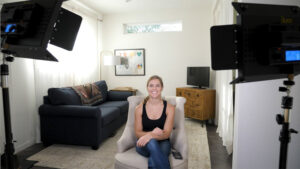
Lighting can make a subtle but big difference to the quality of your at-home video footage, especially when shooting on a phone or laptop.
Here’s how to get the best results:
Film in a location that is well lit with natural light at daytime if possible. If you can diffuse the light through translucent curtains, even better!
Turn on any indoor lights alongside the natural light.
Avoid harsh shadows on the subject. Try and aim for flat, even lighting.
If you have access to artificial lighting, such as a ring-light, feel free to use it — but be careful to avoid harsh shadows or reflections in glasses.
Try not to shoot with bright lights (such as a window) behind the subject. This can cause issues with auto-exposure on cameras.
Part #3: Audio Tips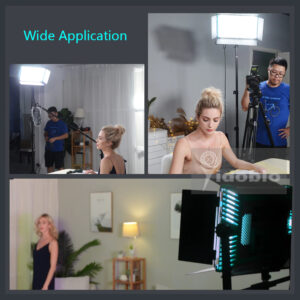
Audio quality is often an afterthought, but it can make a huge difference to the quality of a video. For the best results, use an external microphone and sync your audio during the edit process.
However, you can still record clear audio even if you don’t have an external mic. Here are our top tips:
Record in a quiet location, with doors and windows closed to avoid any unwanted noises.
Record in a carpeted space, or somewhere with plenty of soft furnishings. This helps to “dampen” the sound and reduce echo. On a similar note, avoid recording in an empty room with bare walls, as this can make the audio sound tinny.
If you are recording with an external mic, perform a single clap at the start of a take. This will help you to sync up the audio to the video footage.
Position an external mic slightly away from the source of audio (i.e. someone’s mouth). If the mic is too close, this can introduce distortion to the sound. In a quiet space, roughly half a meter distance should do the trick.
If you’re using a clip-on mic, clip it onto the subject’s clothes and position it pointing upwards, towards their chin.
Make sure built-in mics are not obstructed by your hand, tripod grip, or any other objects.
Part #4: Location Tips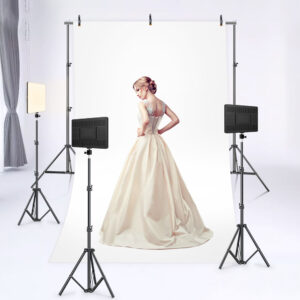
Your “film set” — or in more simple terms, the location you choose to film in — can have a huge impact on how polished and professional your final video looks.
Thankfully, you don’t have to replicate a Hollywood studio to create a strong aesthetic. Here are 3 quick tips to keep in mind:
Look for cozy corners of your home that are intimate but not cluttered
Use plants, desks, ornaments, chairs, books, and cushions to add character to your videos (but not all at once)
If you don’t have a workable space, use a seamless paper backdrop in a color that aligns with your brand
And that’s it! With these simple tips you’ll be creating professional video content from home in no time.
![]()